Introduction
Whenever we photograph a scene the first thing that pops in our minds is ‘How should I expose this scene?’ or ‘What should I do to preserve dynamic range?’ to which I have already written an article called Unravelling the Exposure Triangle which discusses these exact questions.
However, in some situations no matter what we do, we cannot both preserve our highlights and shadows due to either the dynamic range in our scene being greater than what our camera can capture (less likely) or we have to underexpose our scene in such a way that the shadows become noisy even at lower ISO values.
The saviour in such peculiar situations is Exposure Stacking or HDR mode. But first we must understand what HDR means and how we can interpret it.
HDR vs SDR
HDR stands for High Dynamic Range and just as the name suggests, it captures a higher dynamic range compared to normal SDR (Standard Dynamic Range) files such as JPG files. In most smartphones, this effect is achieved by performing a double exposure, which is a technique of first slightly underexposing the scene and then overexposing it in quick succession to then combine the two files into an image with more dynamic range compared to a single exposure. HDR mode in some cameras does this exact process albeit with less control over in post-processing and in field shooting. Hence, most camera manufacturers offer a shooting mode called Exposure Bracket or simply Bracketing. For the purposes of this article I will be referencing my Sony a6700’s interface and process but it is fairly similar to other modern camera systems.
The Correct Situations to use Exposure Bracketing
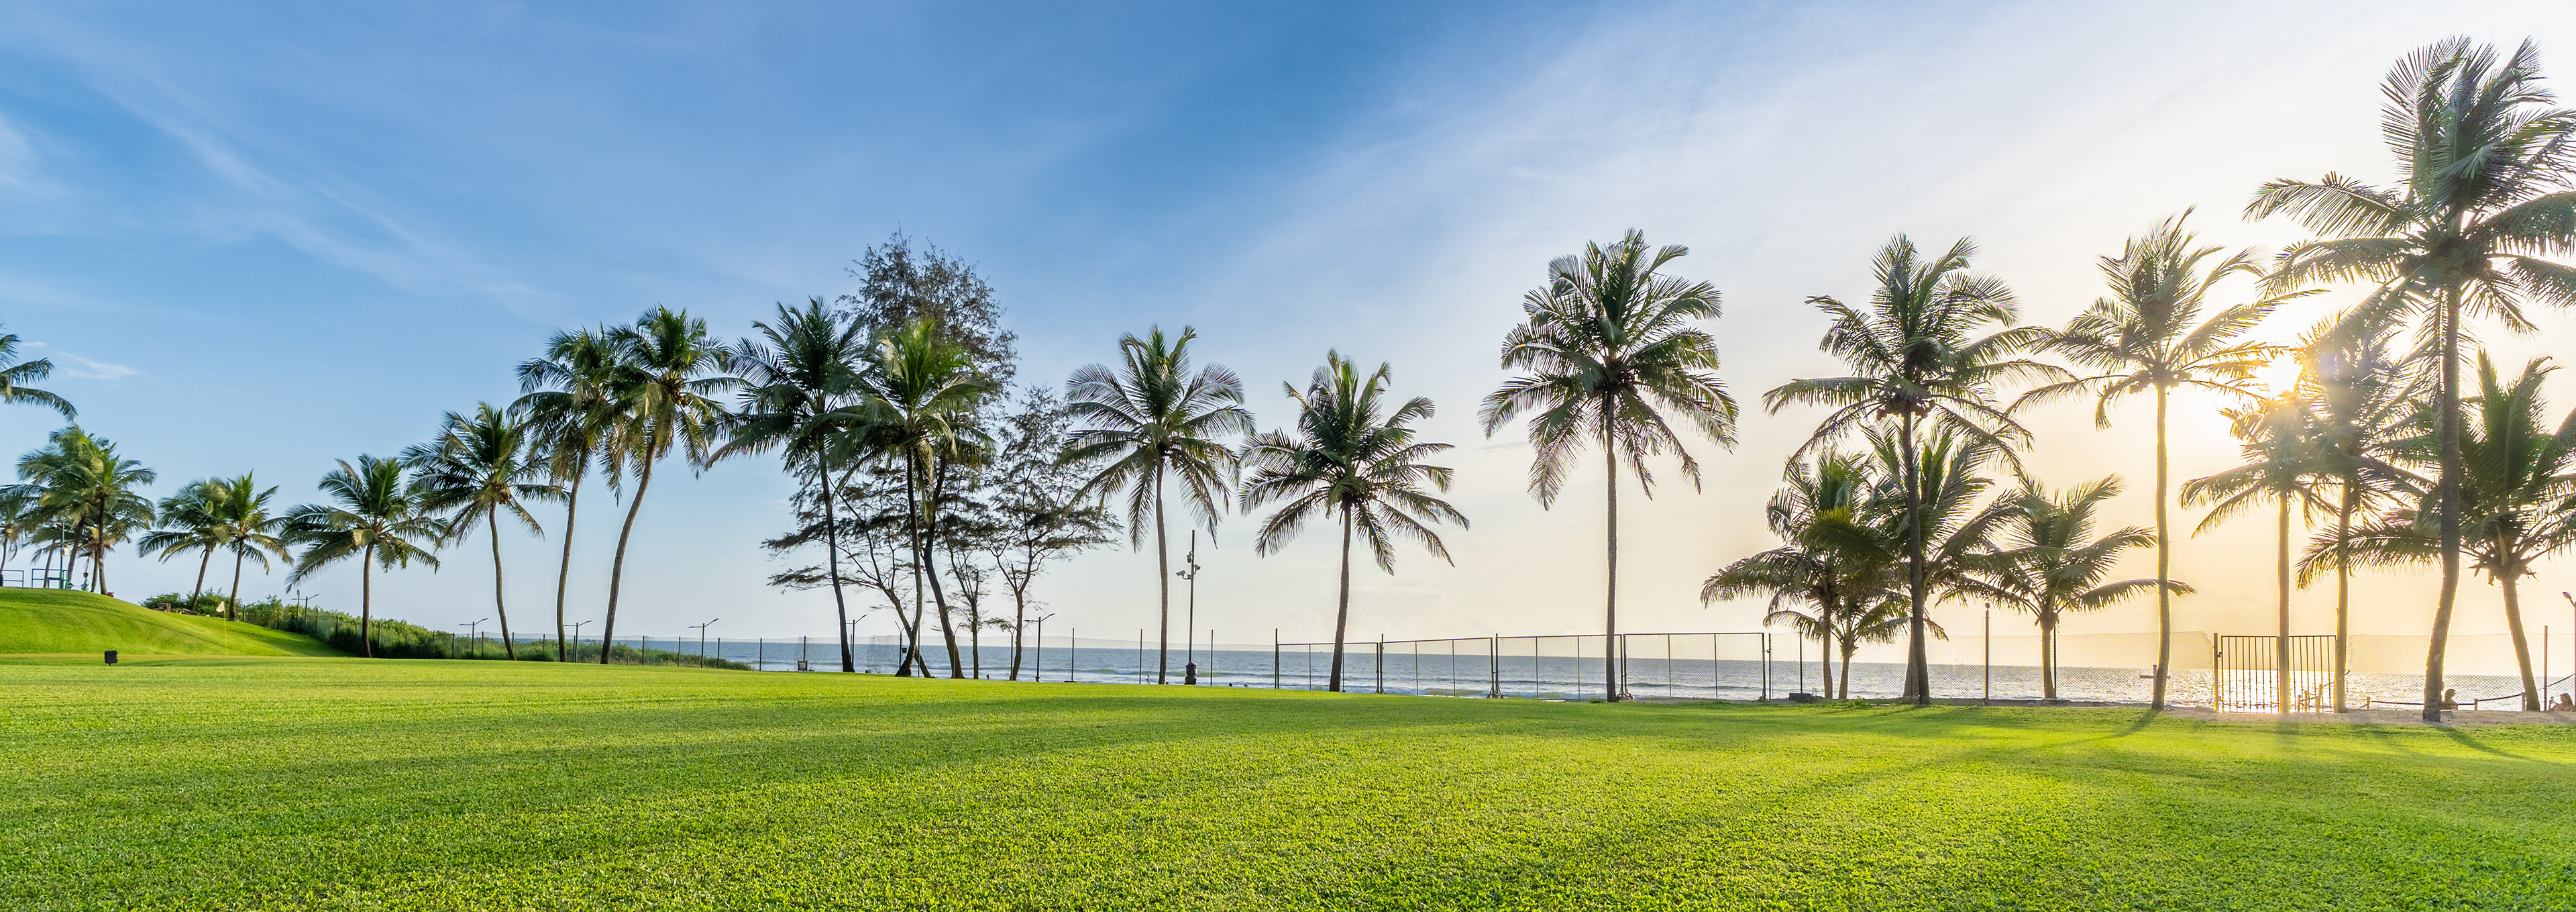
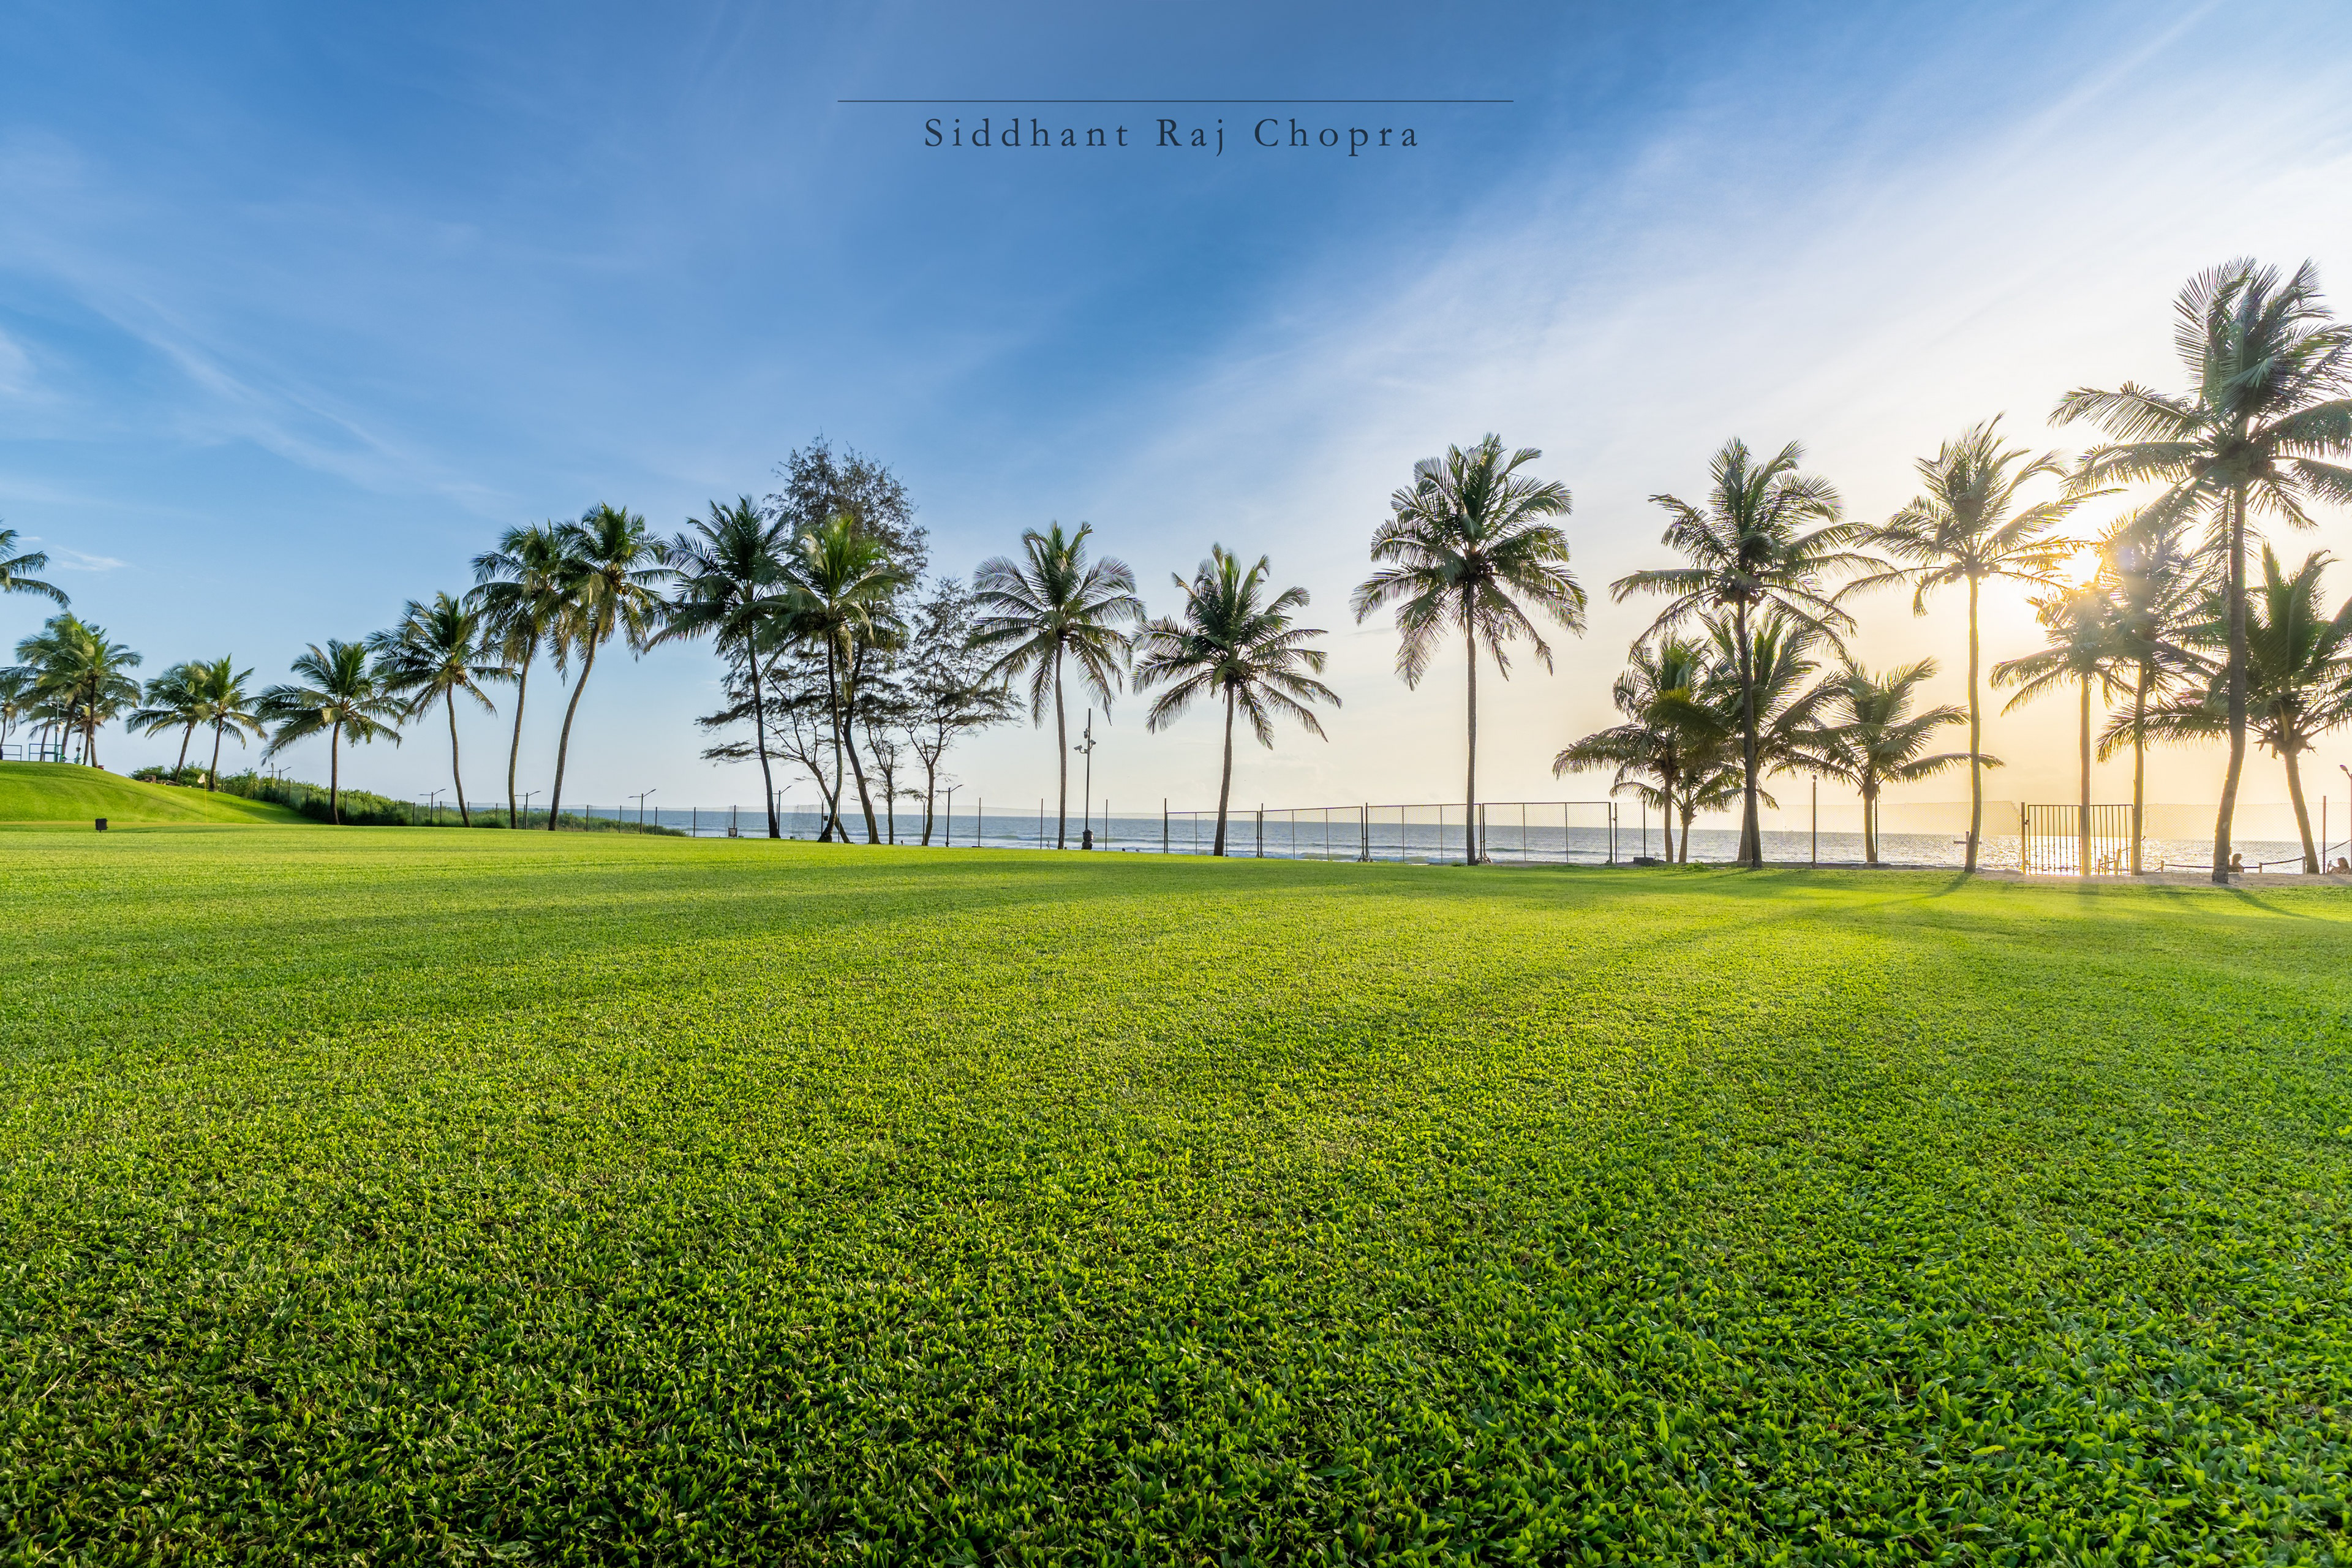
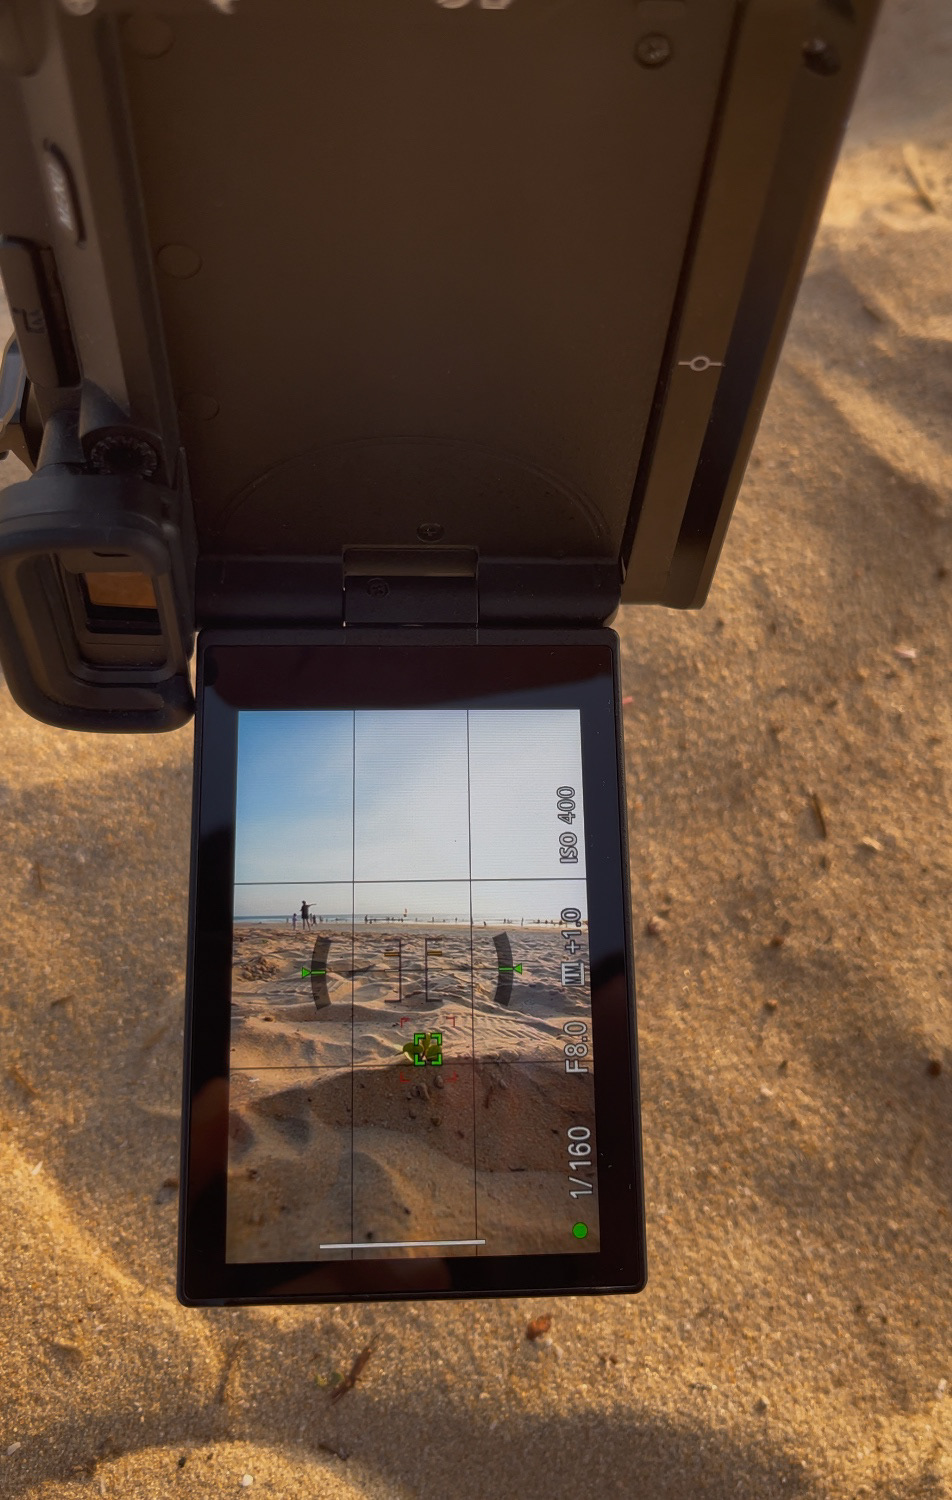
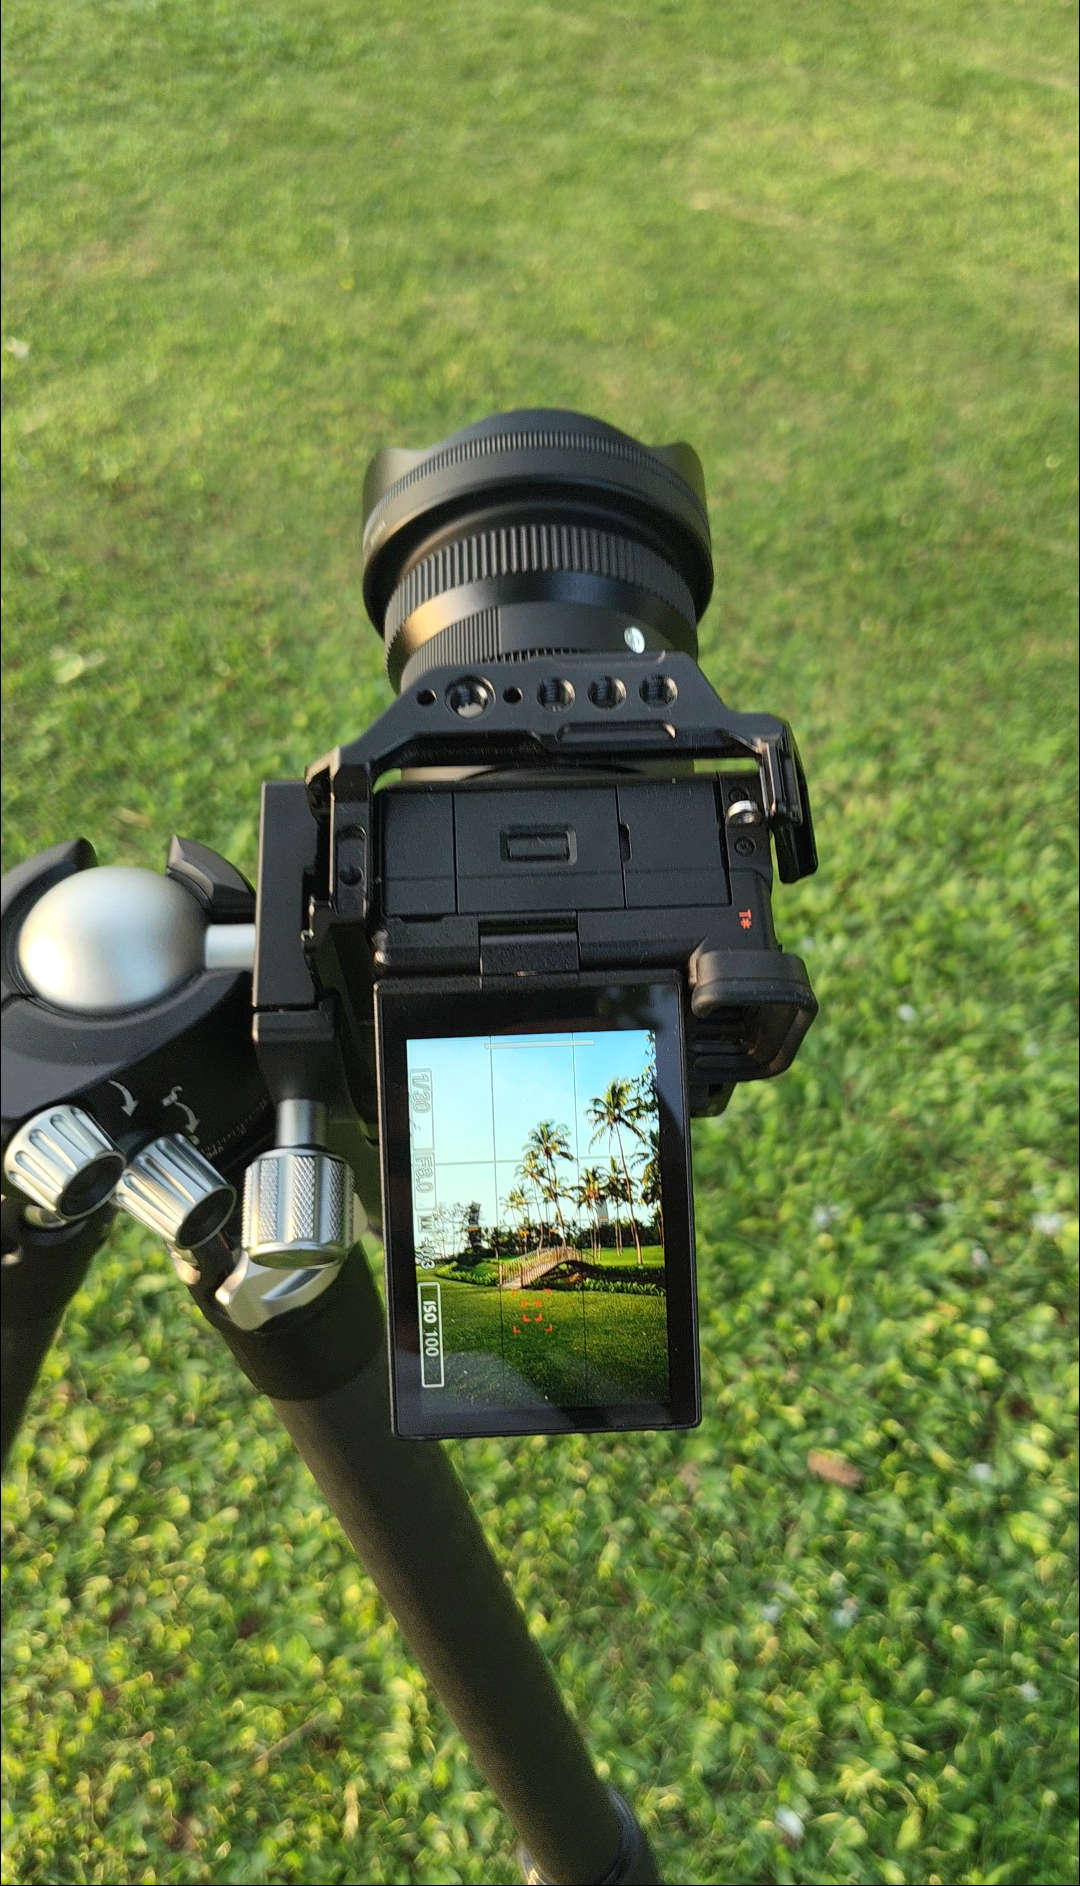
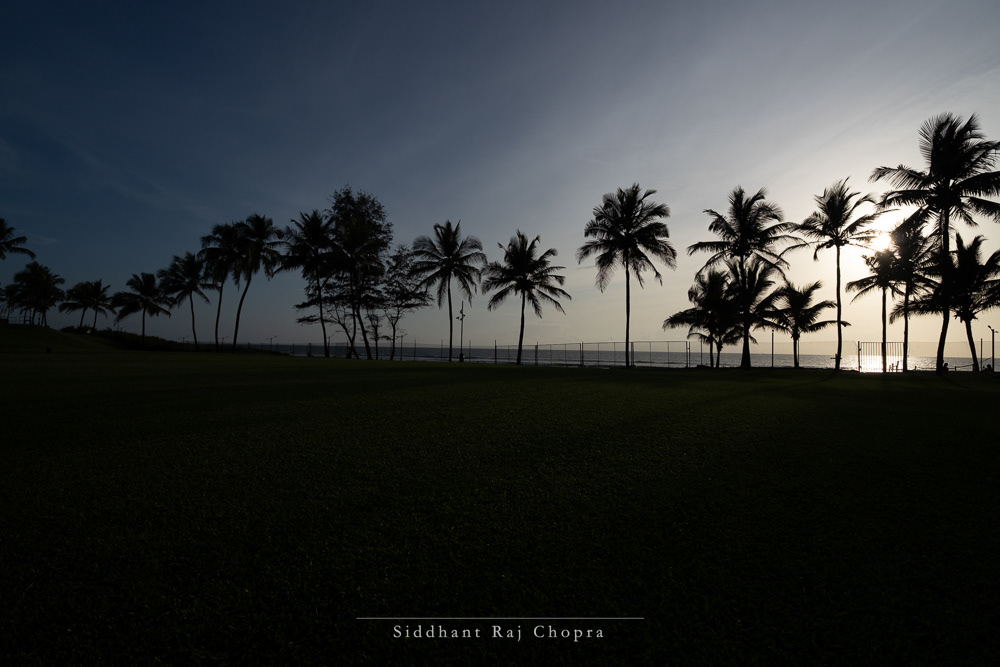
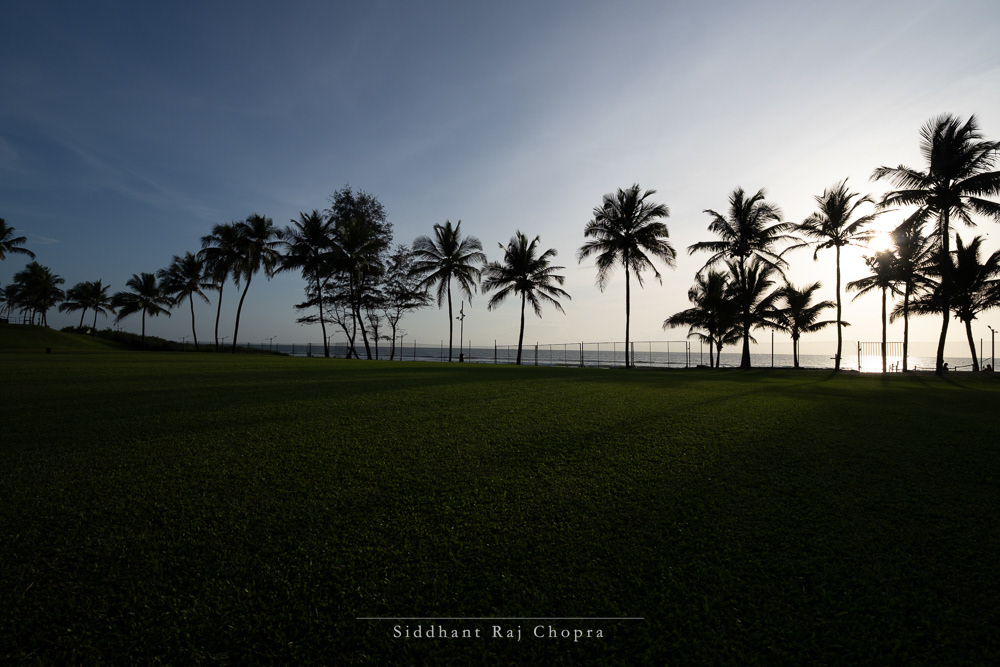
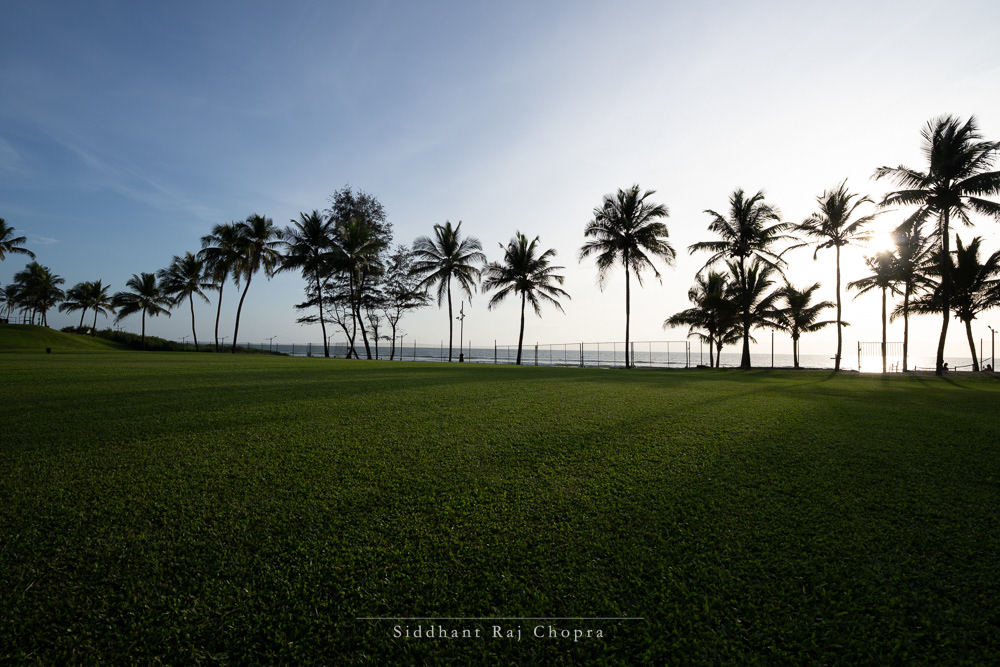
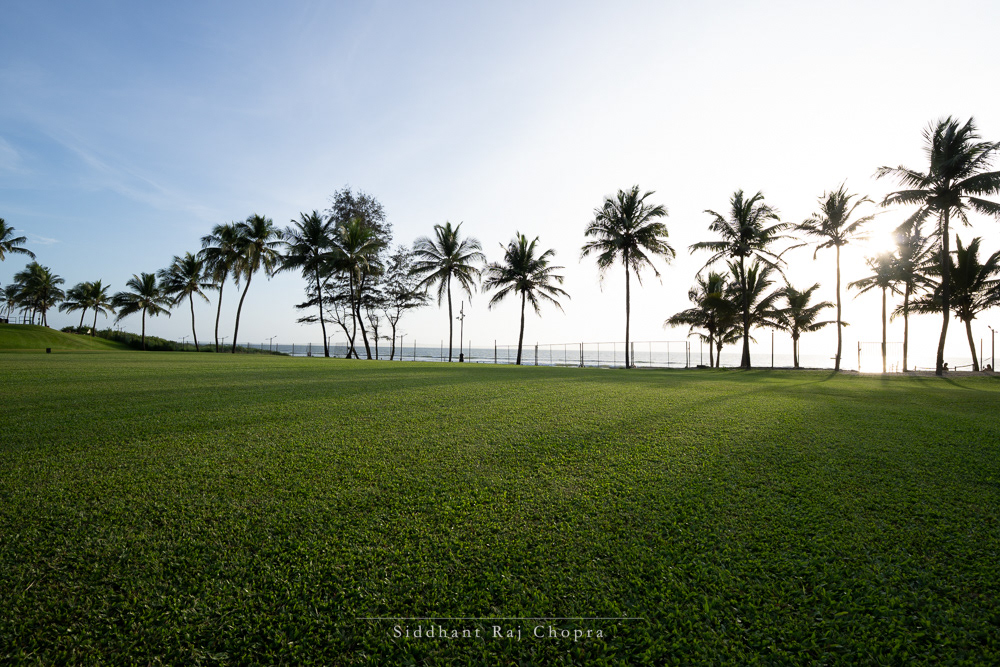
While Exposure Bracketing is an immensely useful tool, we must also understand the correct situations to use it and when to not. Exposure Bracketing is most useful in conditions that are static and is best used with a tripod or with very steady hands at higher shutter speeds only as my preferred way is to bracket/adjust the shutter speed and let the ISO and Aperture be fixed. Some examples of static conditions can be mountains at extreme sun angles, beaches during sundown, ultrawide panoramas or almost any landscape shot.
However, with a decently stable hand, you can still do the HDR bracket.
So now you know the What, When and Where of Exposure Bracketing, so now let us finally explore the How of Exposure Bracketing.
My Method of Performing Exposure Bracketing
Before we start with the steps, I would ideally recommend to shoot in RAW instead of JPG or HEIF as RAW files store the maximum amount of dynamic range and colour information which would make the process of merging of the files much easier later.
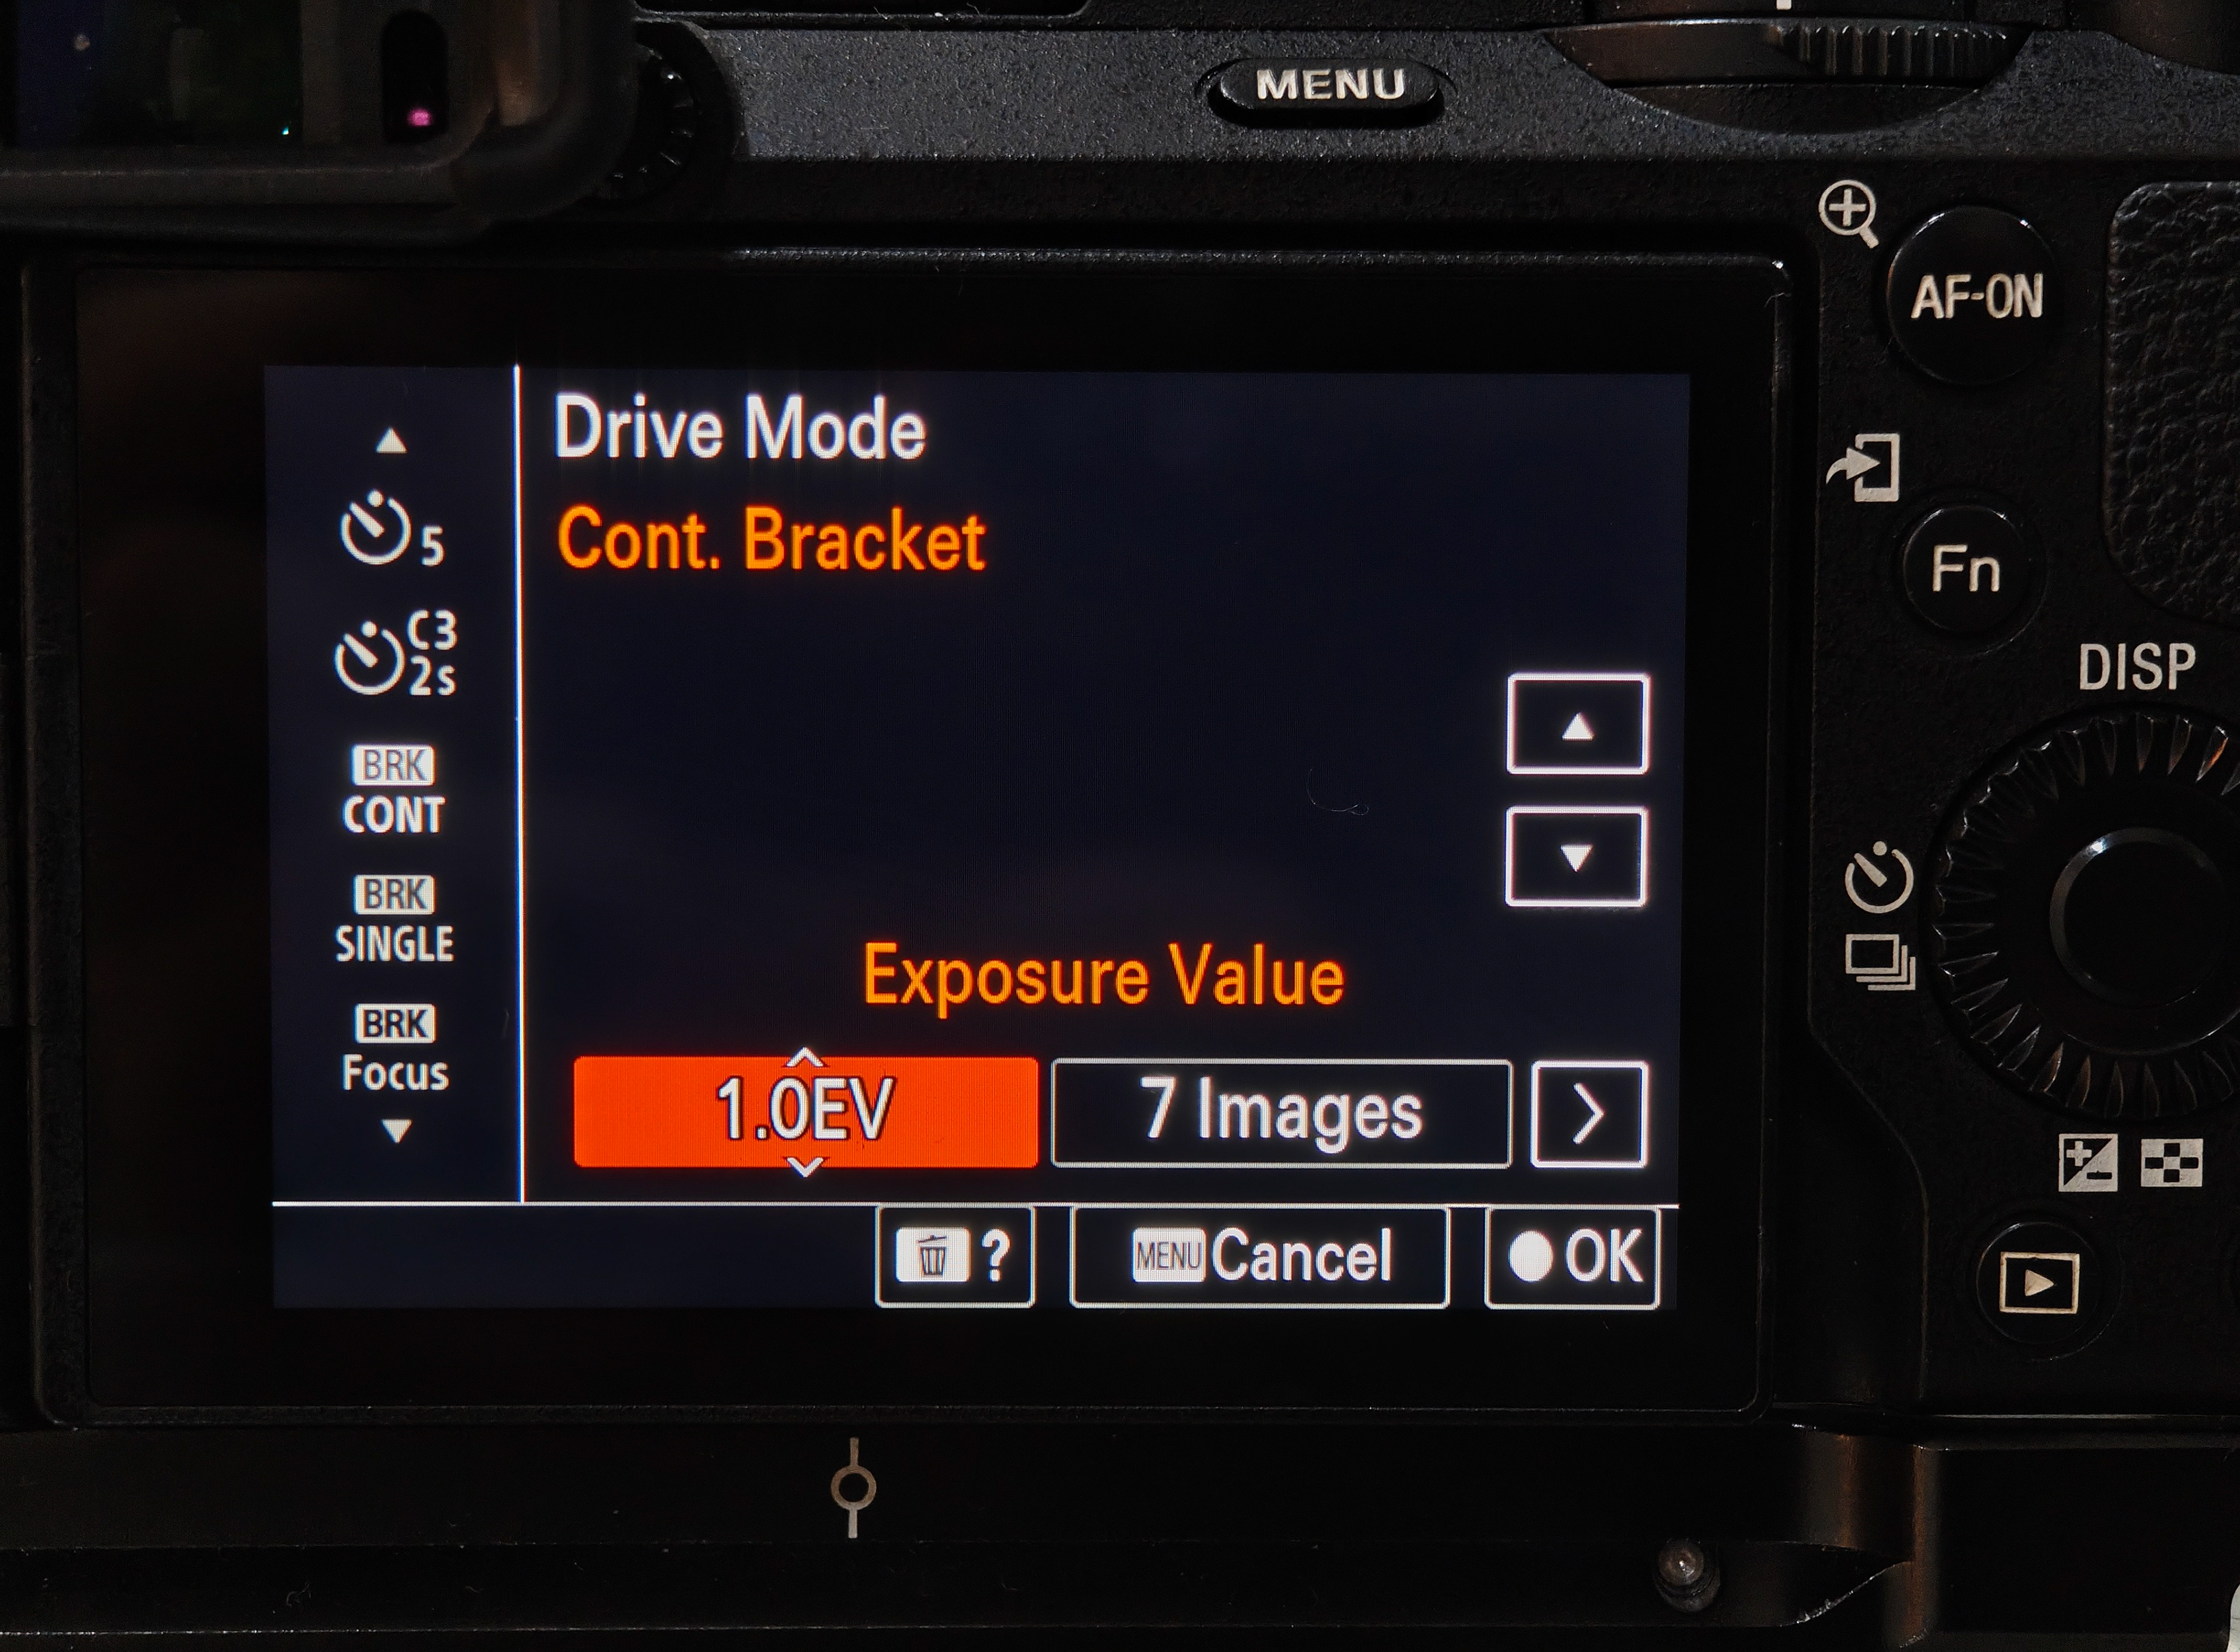
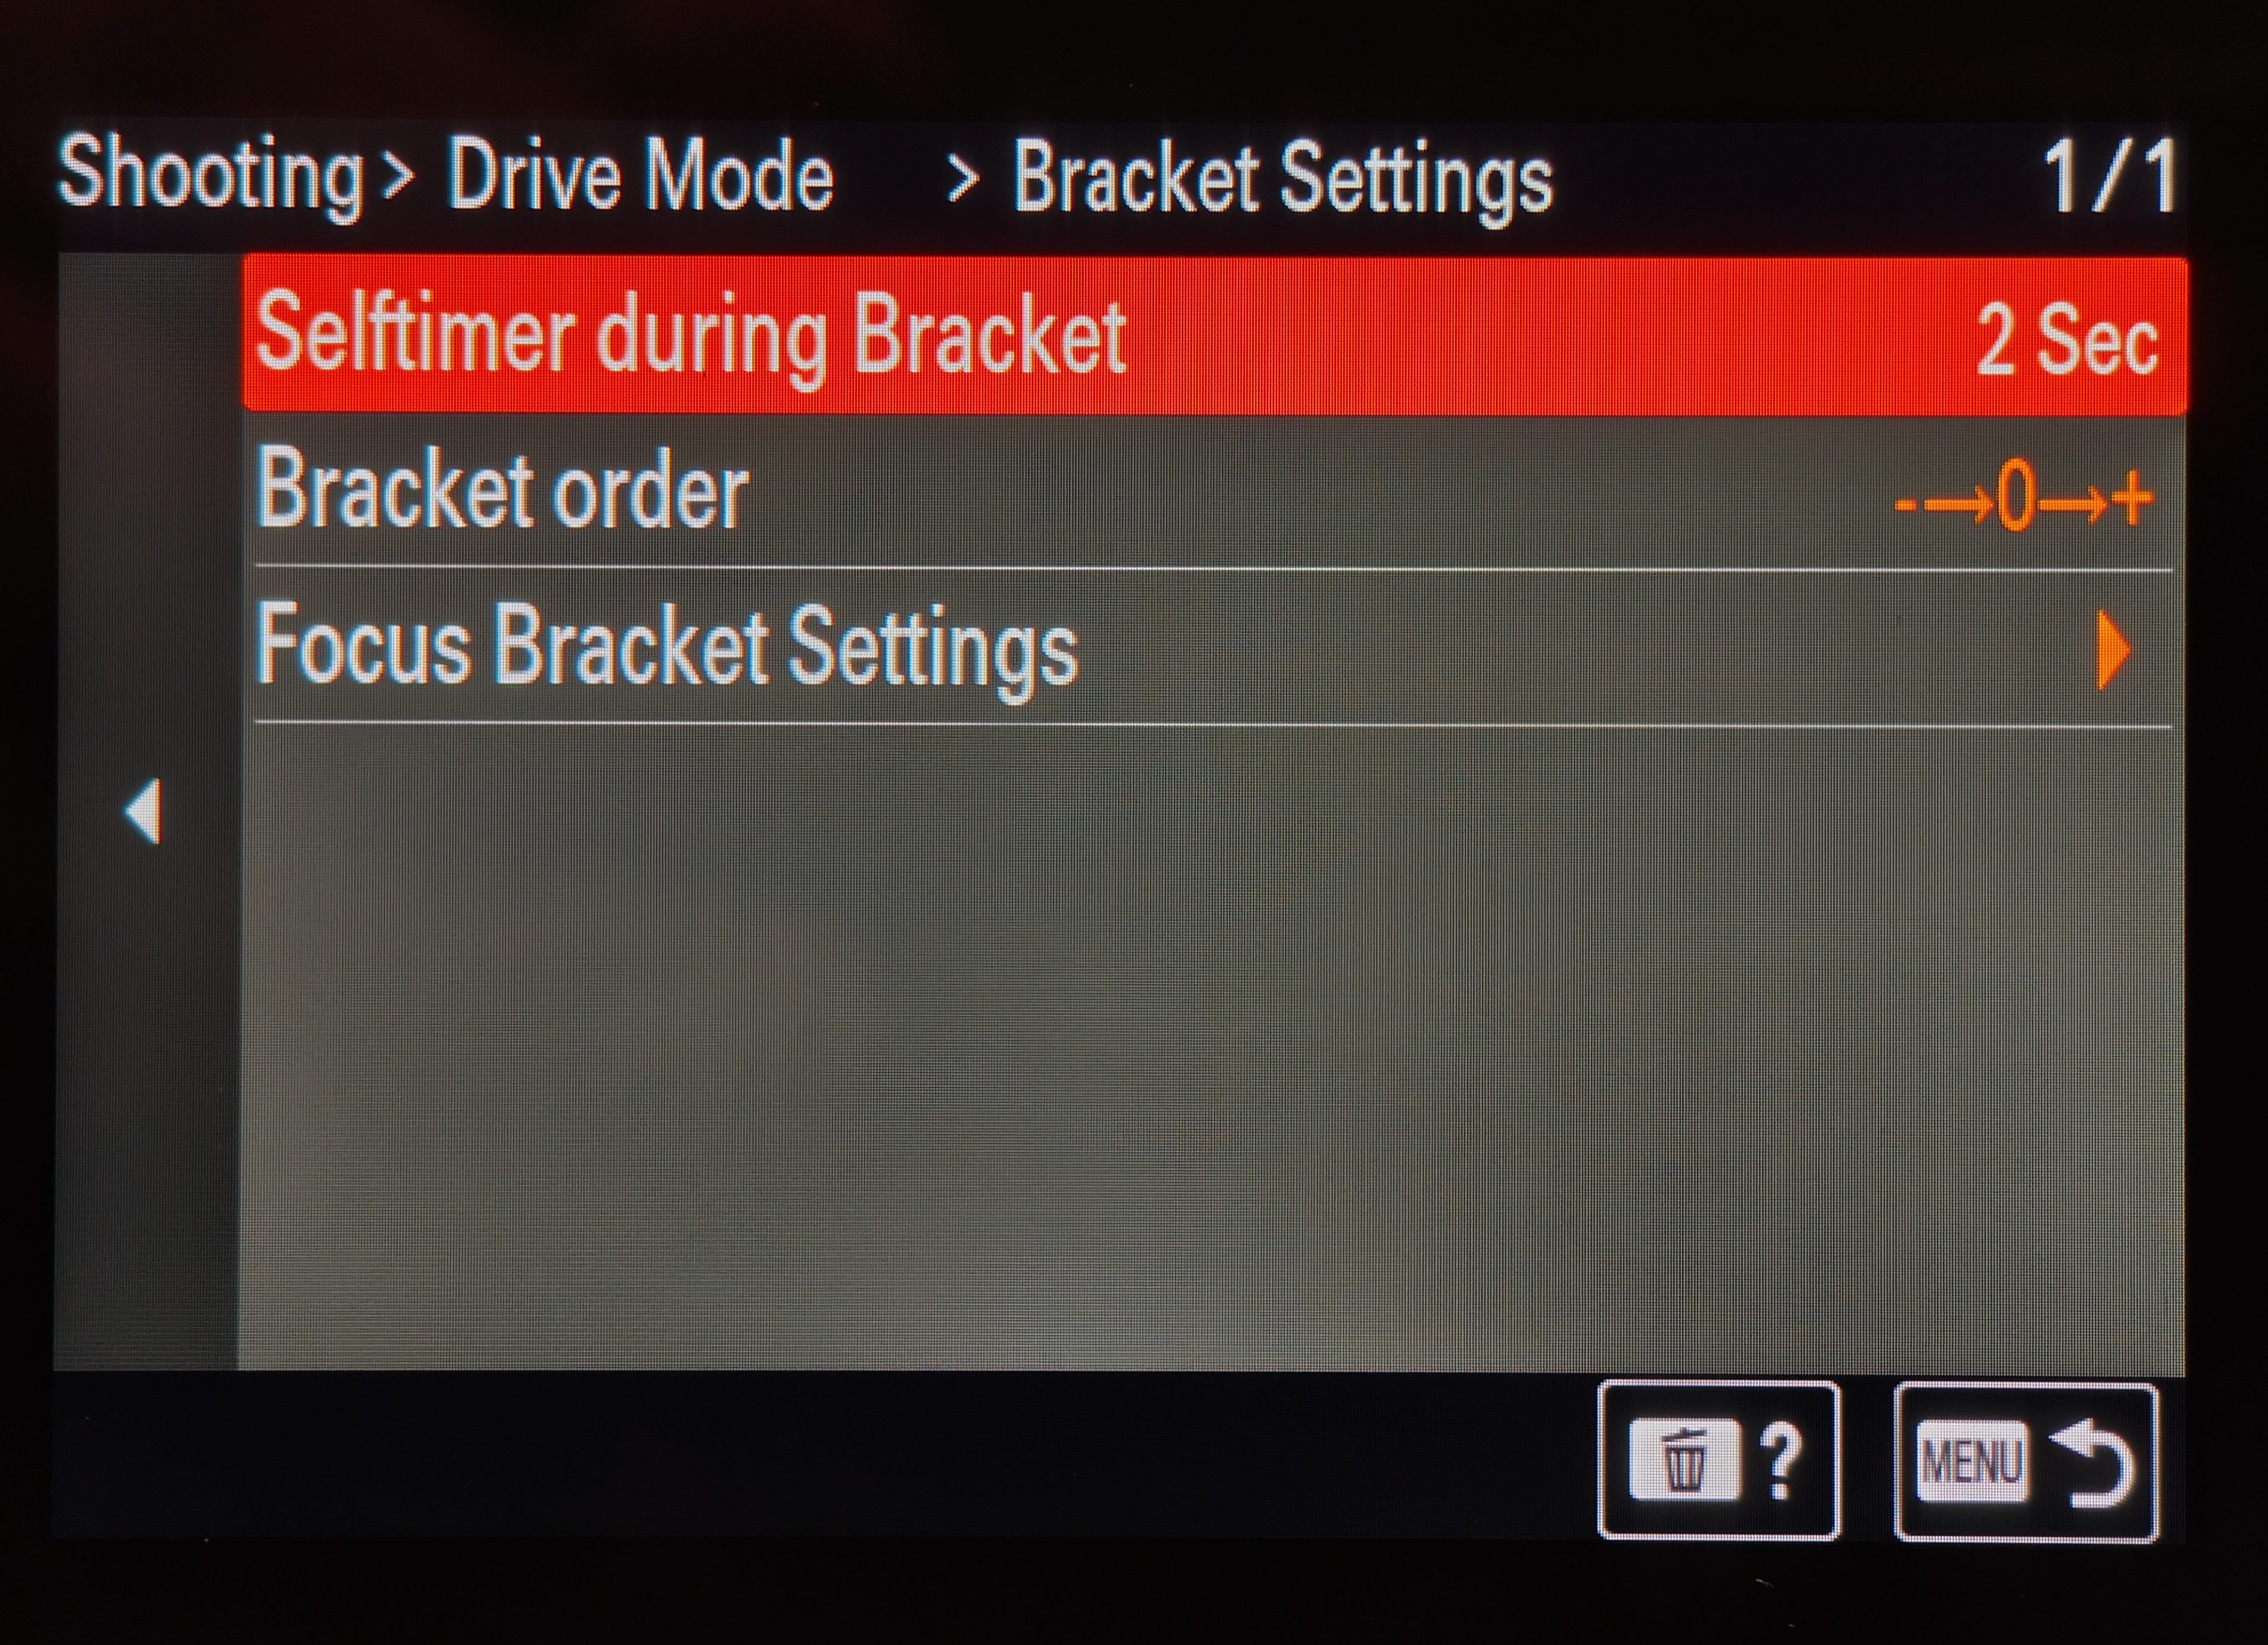
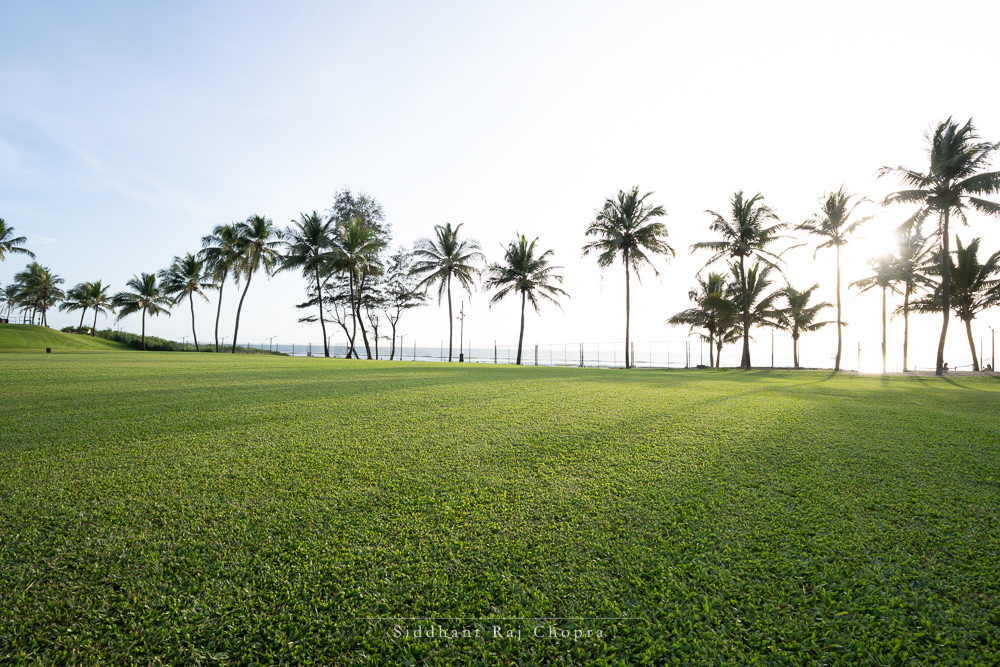
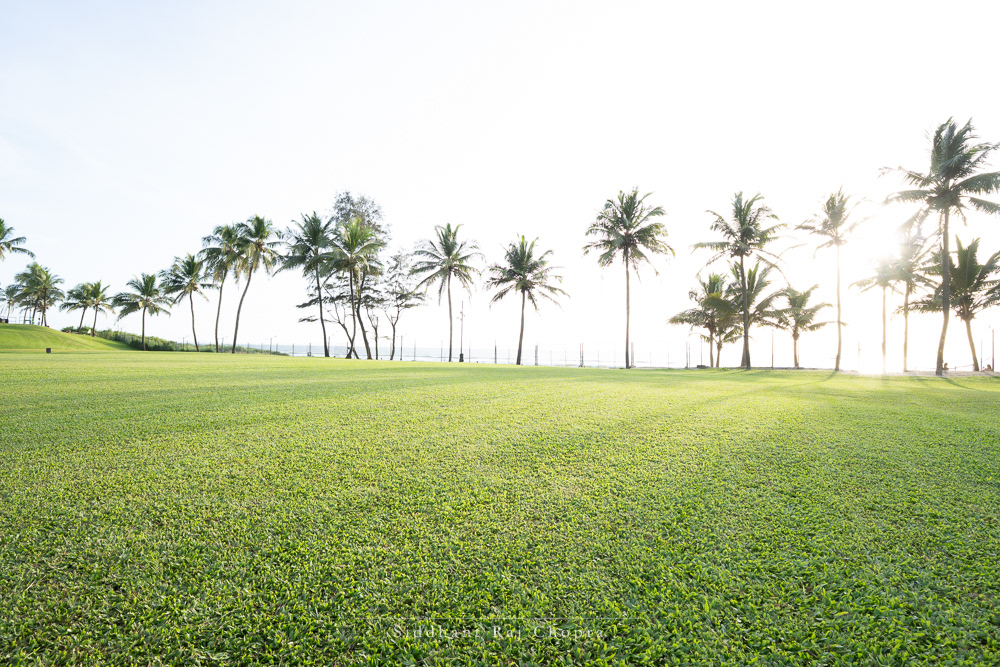
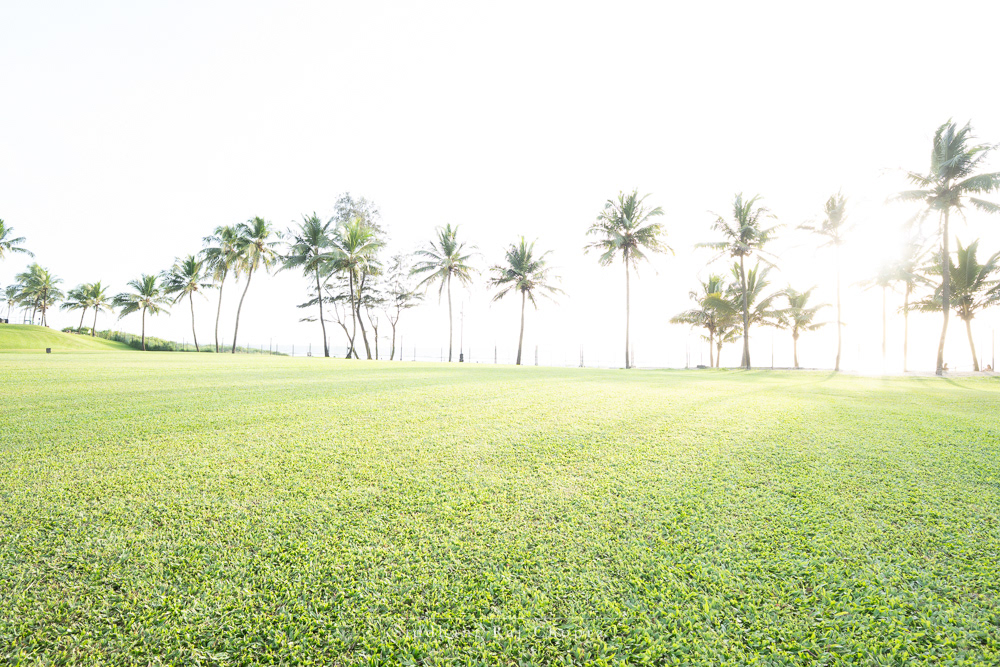
The first step of Exposure Bracketing is to compose your scene and take a few test shots to establish the composition and then lock it off on your tripod. After which you should lock your focus by using a small focus point or manually focussing to a point where most of the desired scene is in focus. Now set your camera’s Drive Mode to Continuous Bracket and set the timer to 2 or 5 seconds to avoid shake. (The following steps are Sony specific so please adapt them to your respective camera system). You will find the Timer settings by pressing the right move button on the camera which would open the bracket settings. Here I recommend you to have the settings as shown below in the images. Once the camera is configured, press the shutter button and wait till the bracketing sequence is complete (which only takes a few seconds).
If you are running the latest firmware for your camera then it should save the bracketed sequence in a separate folder on your camera’s memory card or would be saved in the main folder as separate files.
What you get now is your scene at different exposure levels, meaning that in each scene either the highlights, shadows or the midtones are given exposure priority.
Merging the Bracketed Files
Now begins the real process of converting your image vision into reality by merging and editing to bring out the most of your images. I will be using Adobe’s Lightroom Classic for my workflow but you can use almost any prosumer image editing program to perform the steps I am going to showcase.
First, import your images into a Lightroom Catalogue and select the images for your HDR Merge.
Second, right click on any one of the selected image and select Photo Merge > HDR
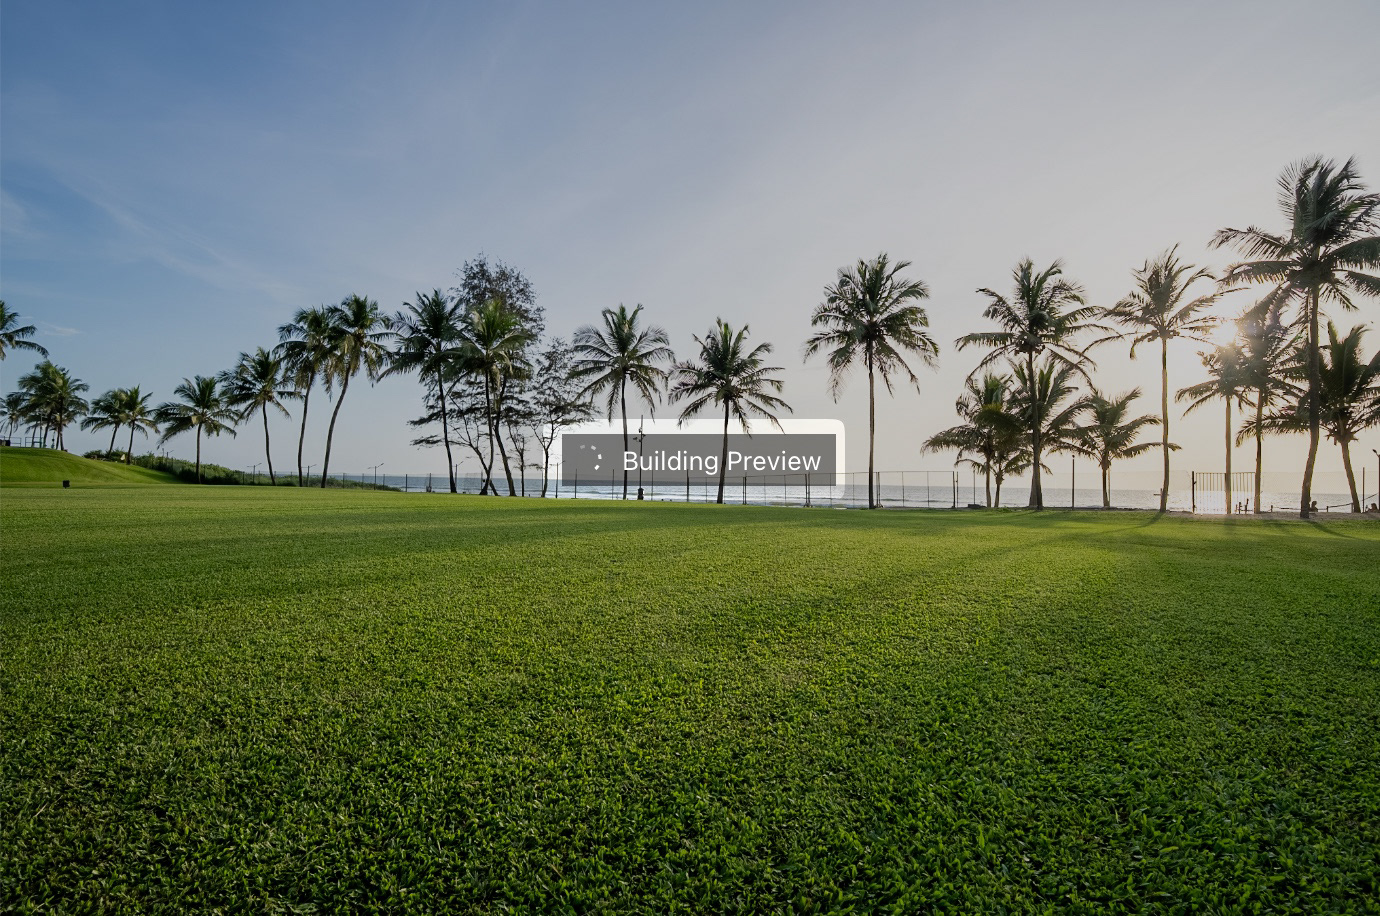
Lightroom will then generate a preview of the merged image
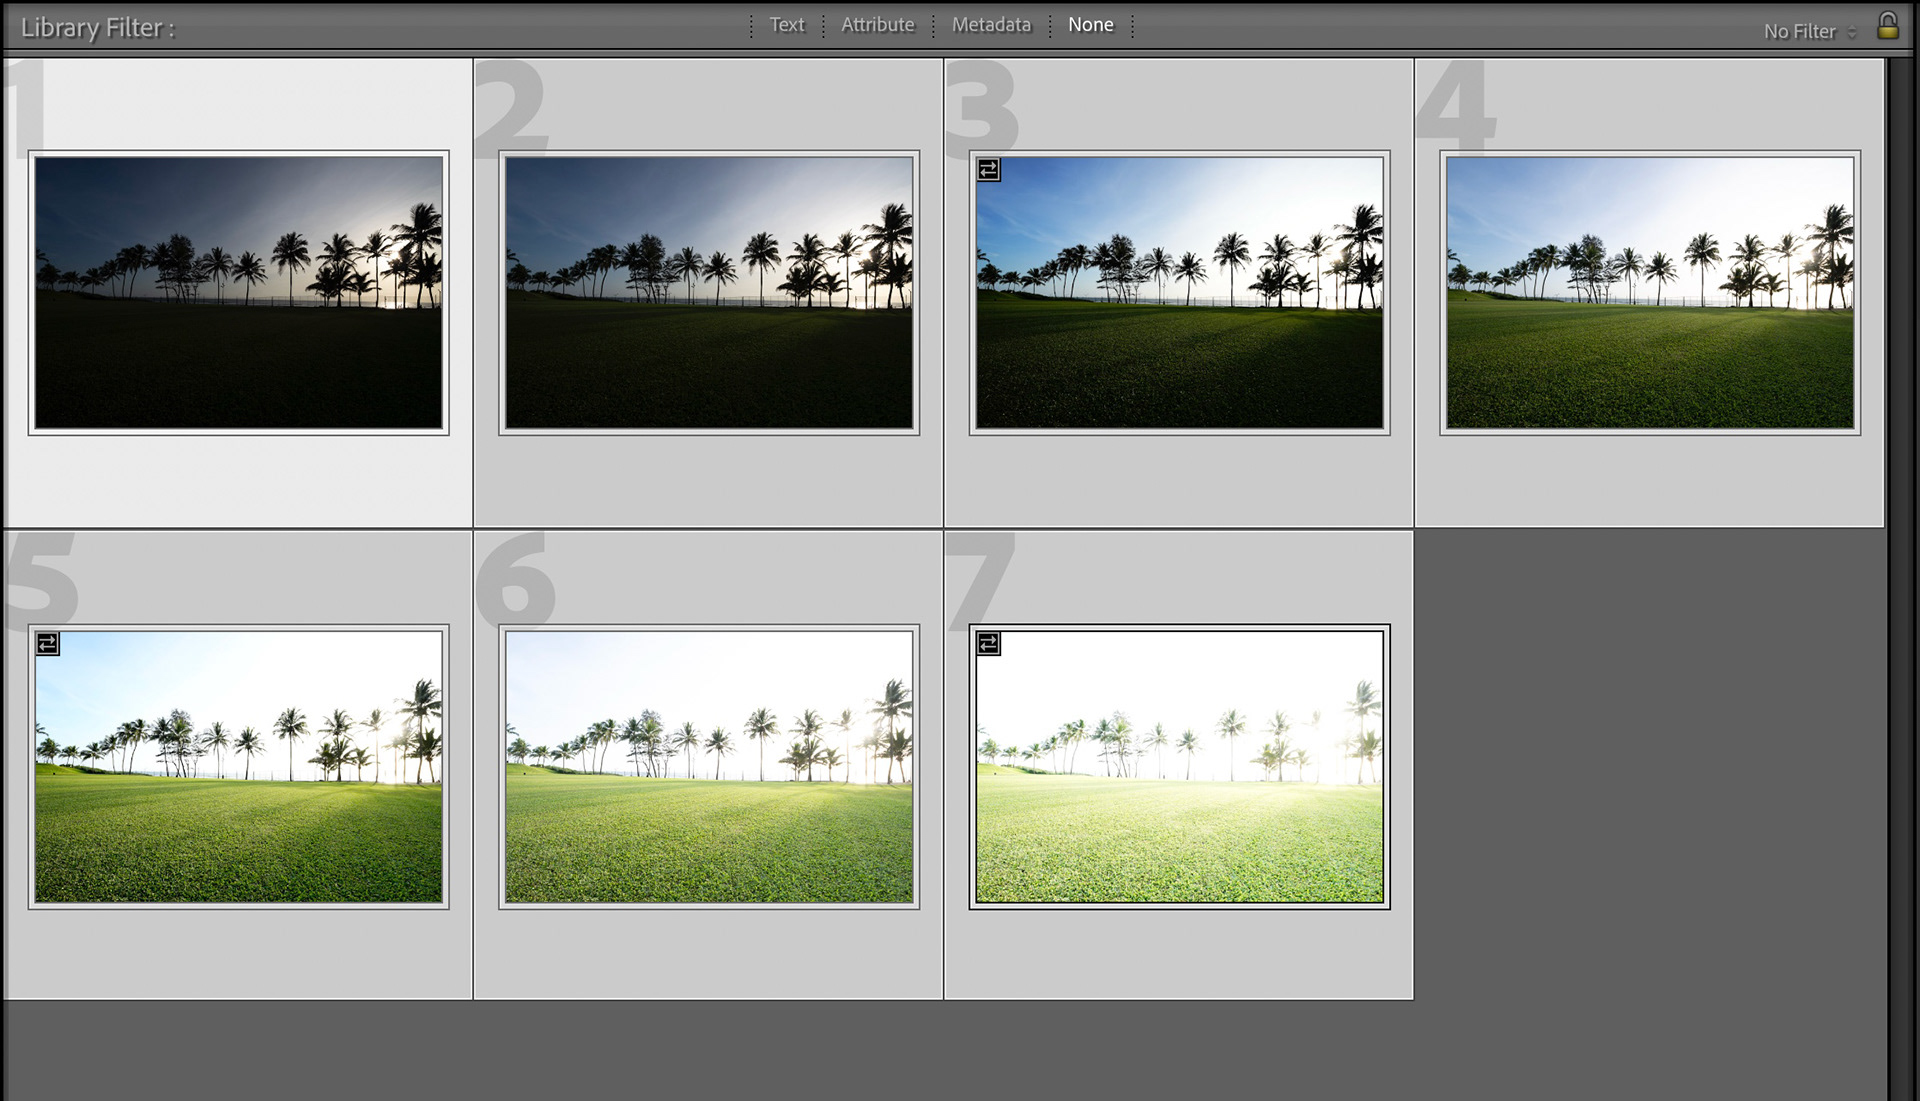
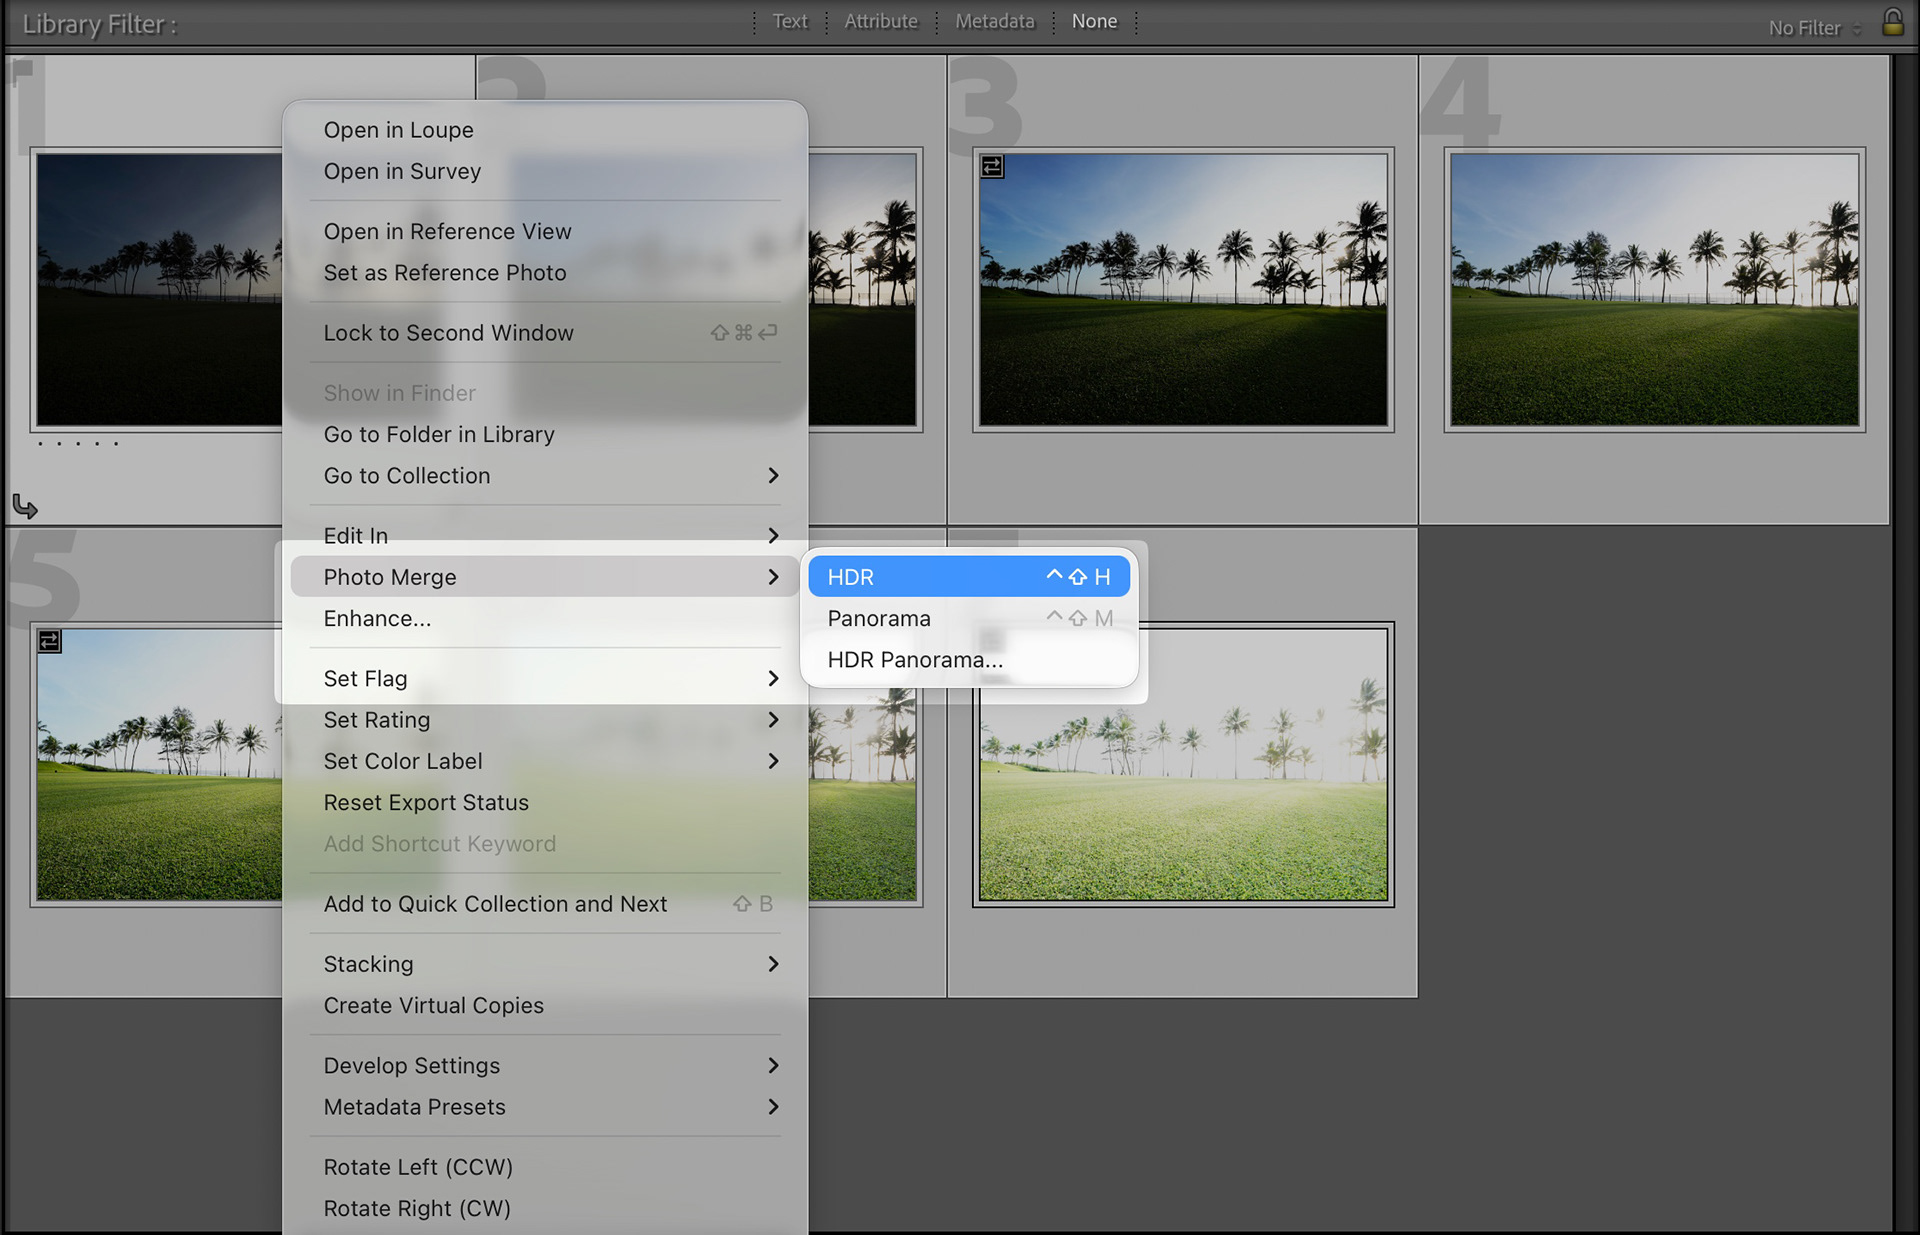
In the HDR Merge dialogue you would find a few important settings to adjust which I have listed with the best settings below:
1. Auto Align – Checked (Arranges the images automatically)
2. Auto Settings – Checked (Applies best exposure settings)
3. Deghost Amount – Medium to Low (Removes blurred leaves and people from the scene without AI)
4. Deghost Overlay – Checked (Shows the areas affected by Deghosting)
5. Create Stack – Unchecked (Leaves Original RAW files untouched and makes a new DNG)
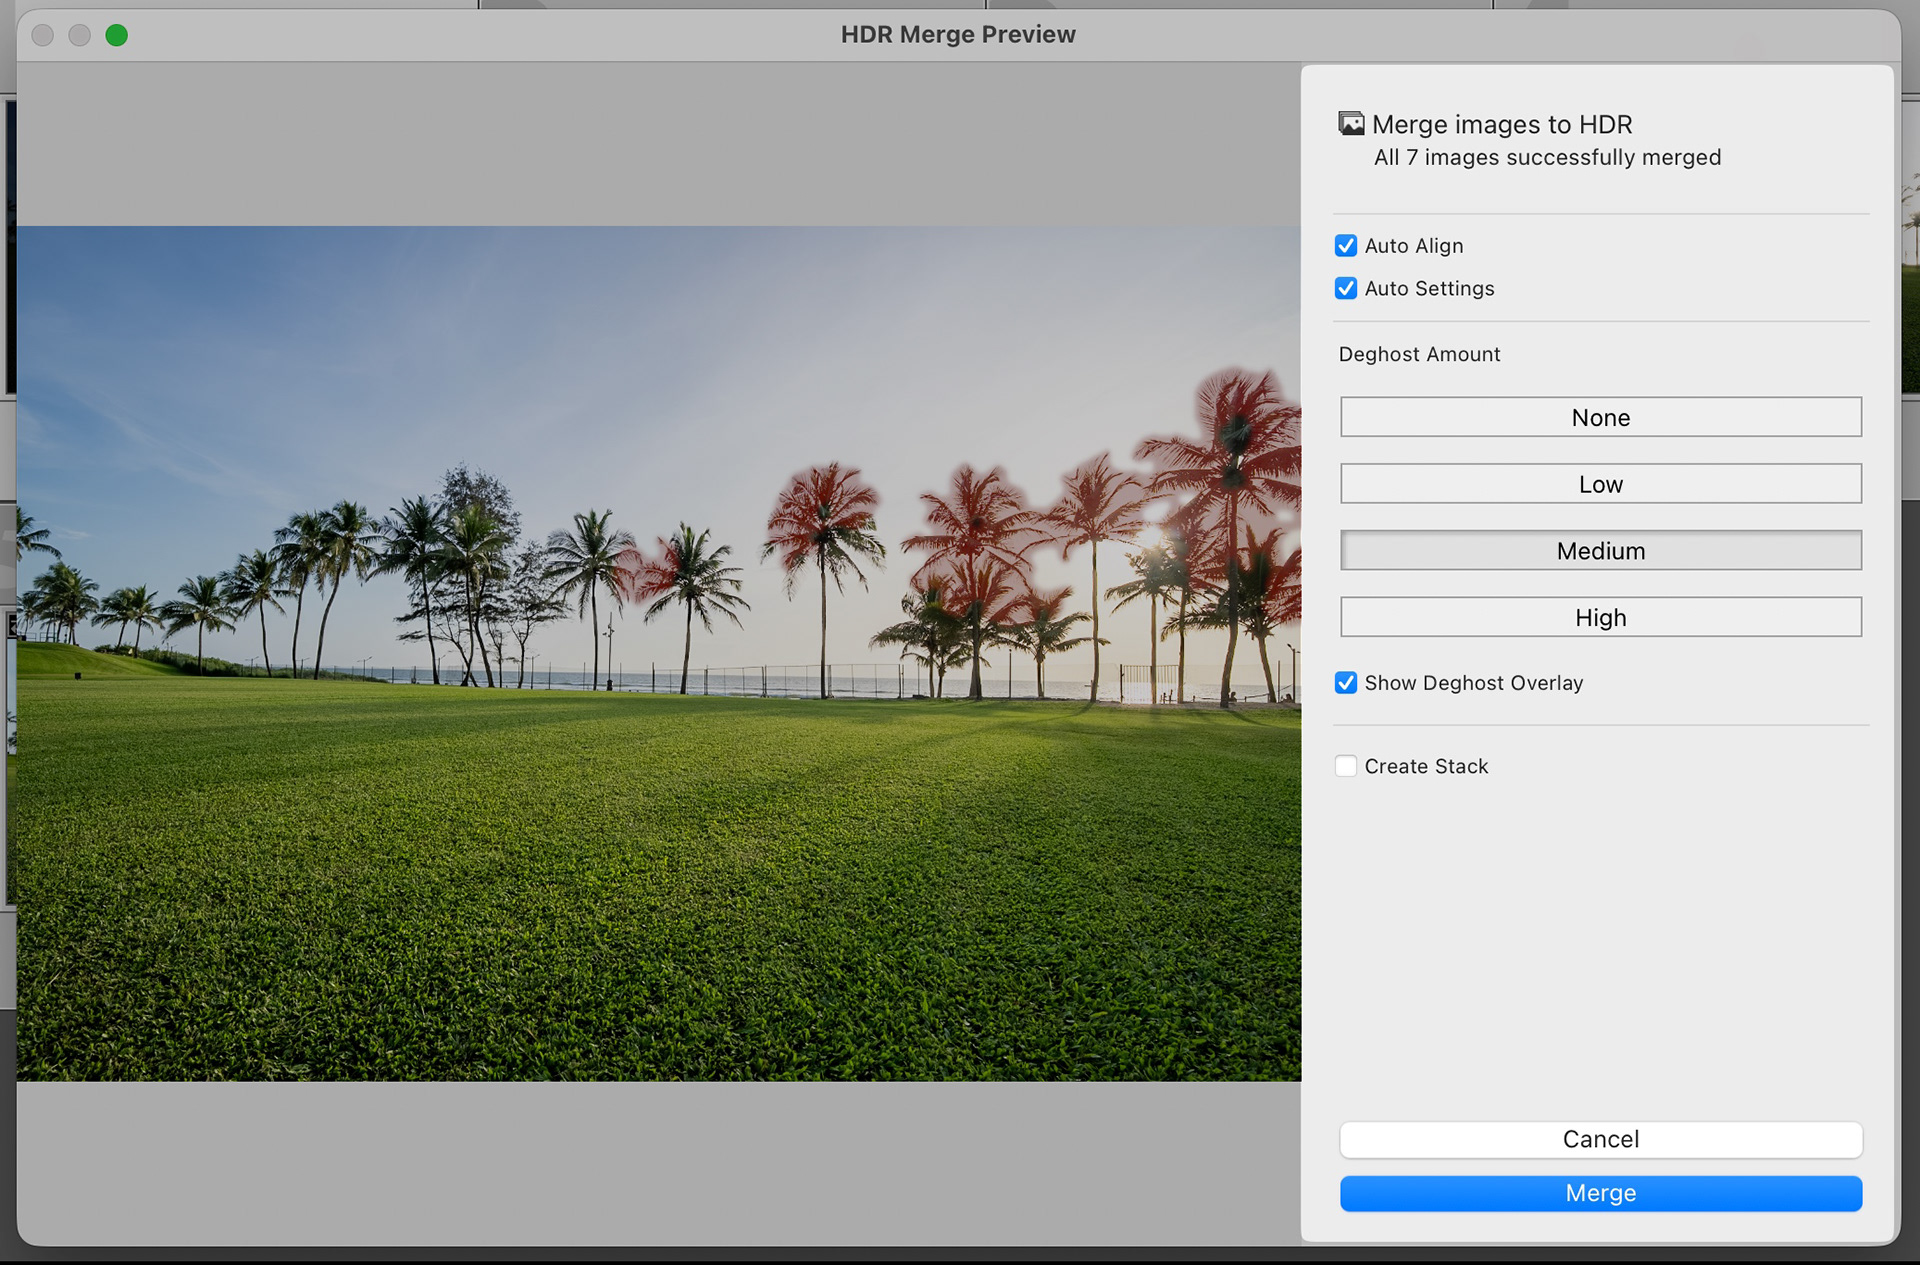
Once the correct settings are dialled in, click on Merge to start the process
The process of merging might take some time depending on the performance of your machine but it is a fairly quick process for most simple merges.
The final output is delivered in the form of a .DNG file which contains all the dynamic range of the scene combined into a single image and the auto applied settings that display the exposure in a realistic manner.
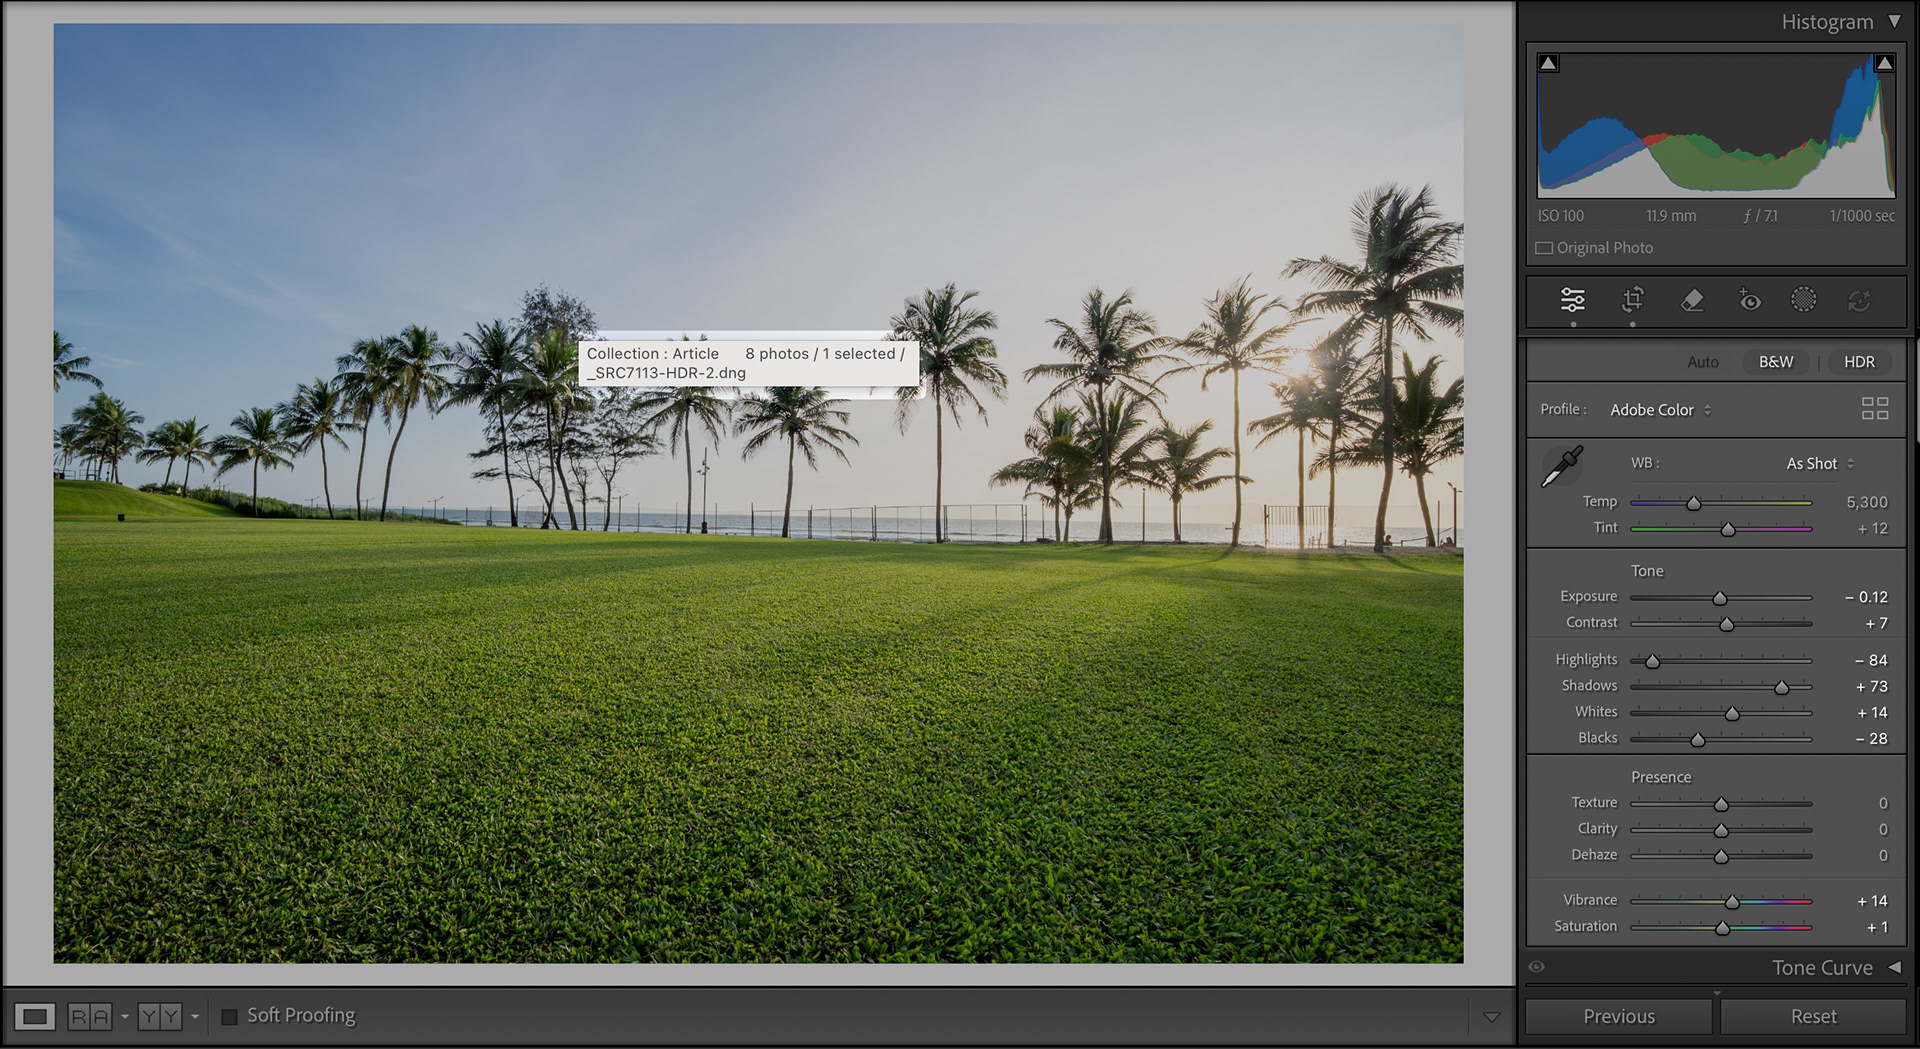
Editing the Bracketed Image
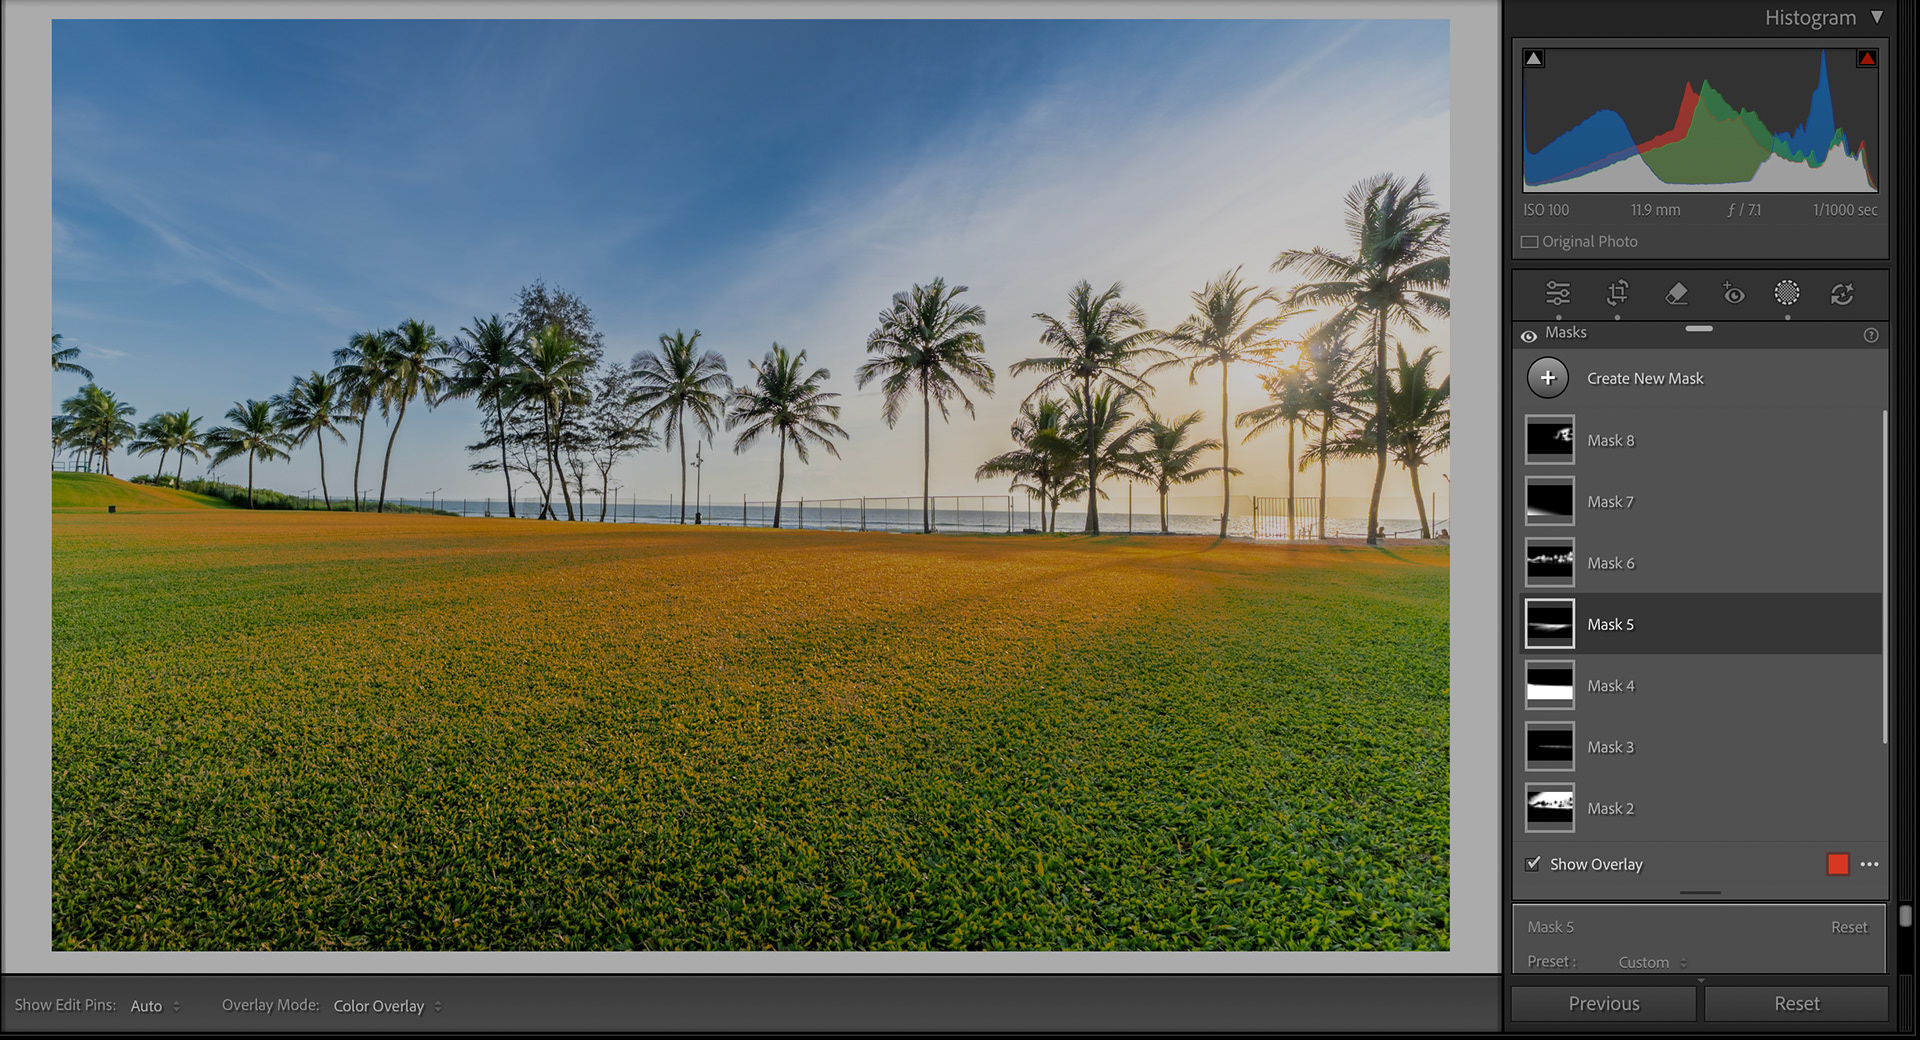
I won’t go into much detail into the editing as it is very subjective, but generally I would use a few masks to draw the attention to the subject central view point of the image and shape the light to appear more appealing.
I would sometimes slightly edit the calibration of the image after correcting the white balance and exposure to transform the colours into how the scene looked in real life, followed by selective colour adjustments of saturation and slight Hue / Luminance changes.
But editing is a story for another day, so let’s head towards the conclusion.
Conclusion
Exposure Bracketing is an amazing tool to have at any Landscape photographer’s disposal as it can lead to images with details that would have been previously very difficult to capture. Accurate knowledge and understanding of this technique is crucial in its accurate execution in the field. I hope this article would help you the reader to capture in even the most extreme conditions, and don’t ever forget to experiment!
